
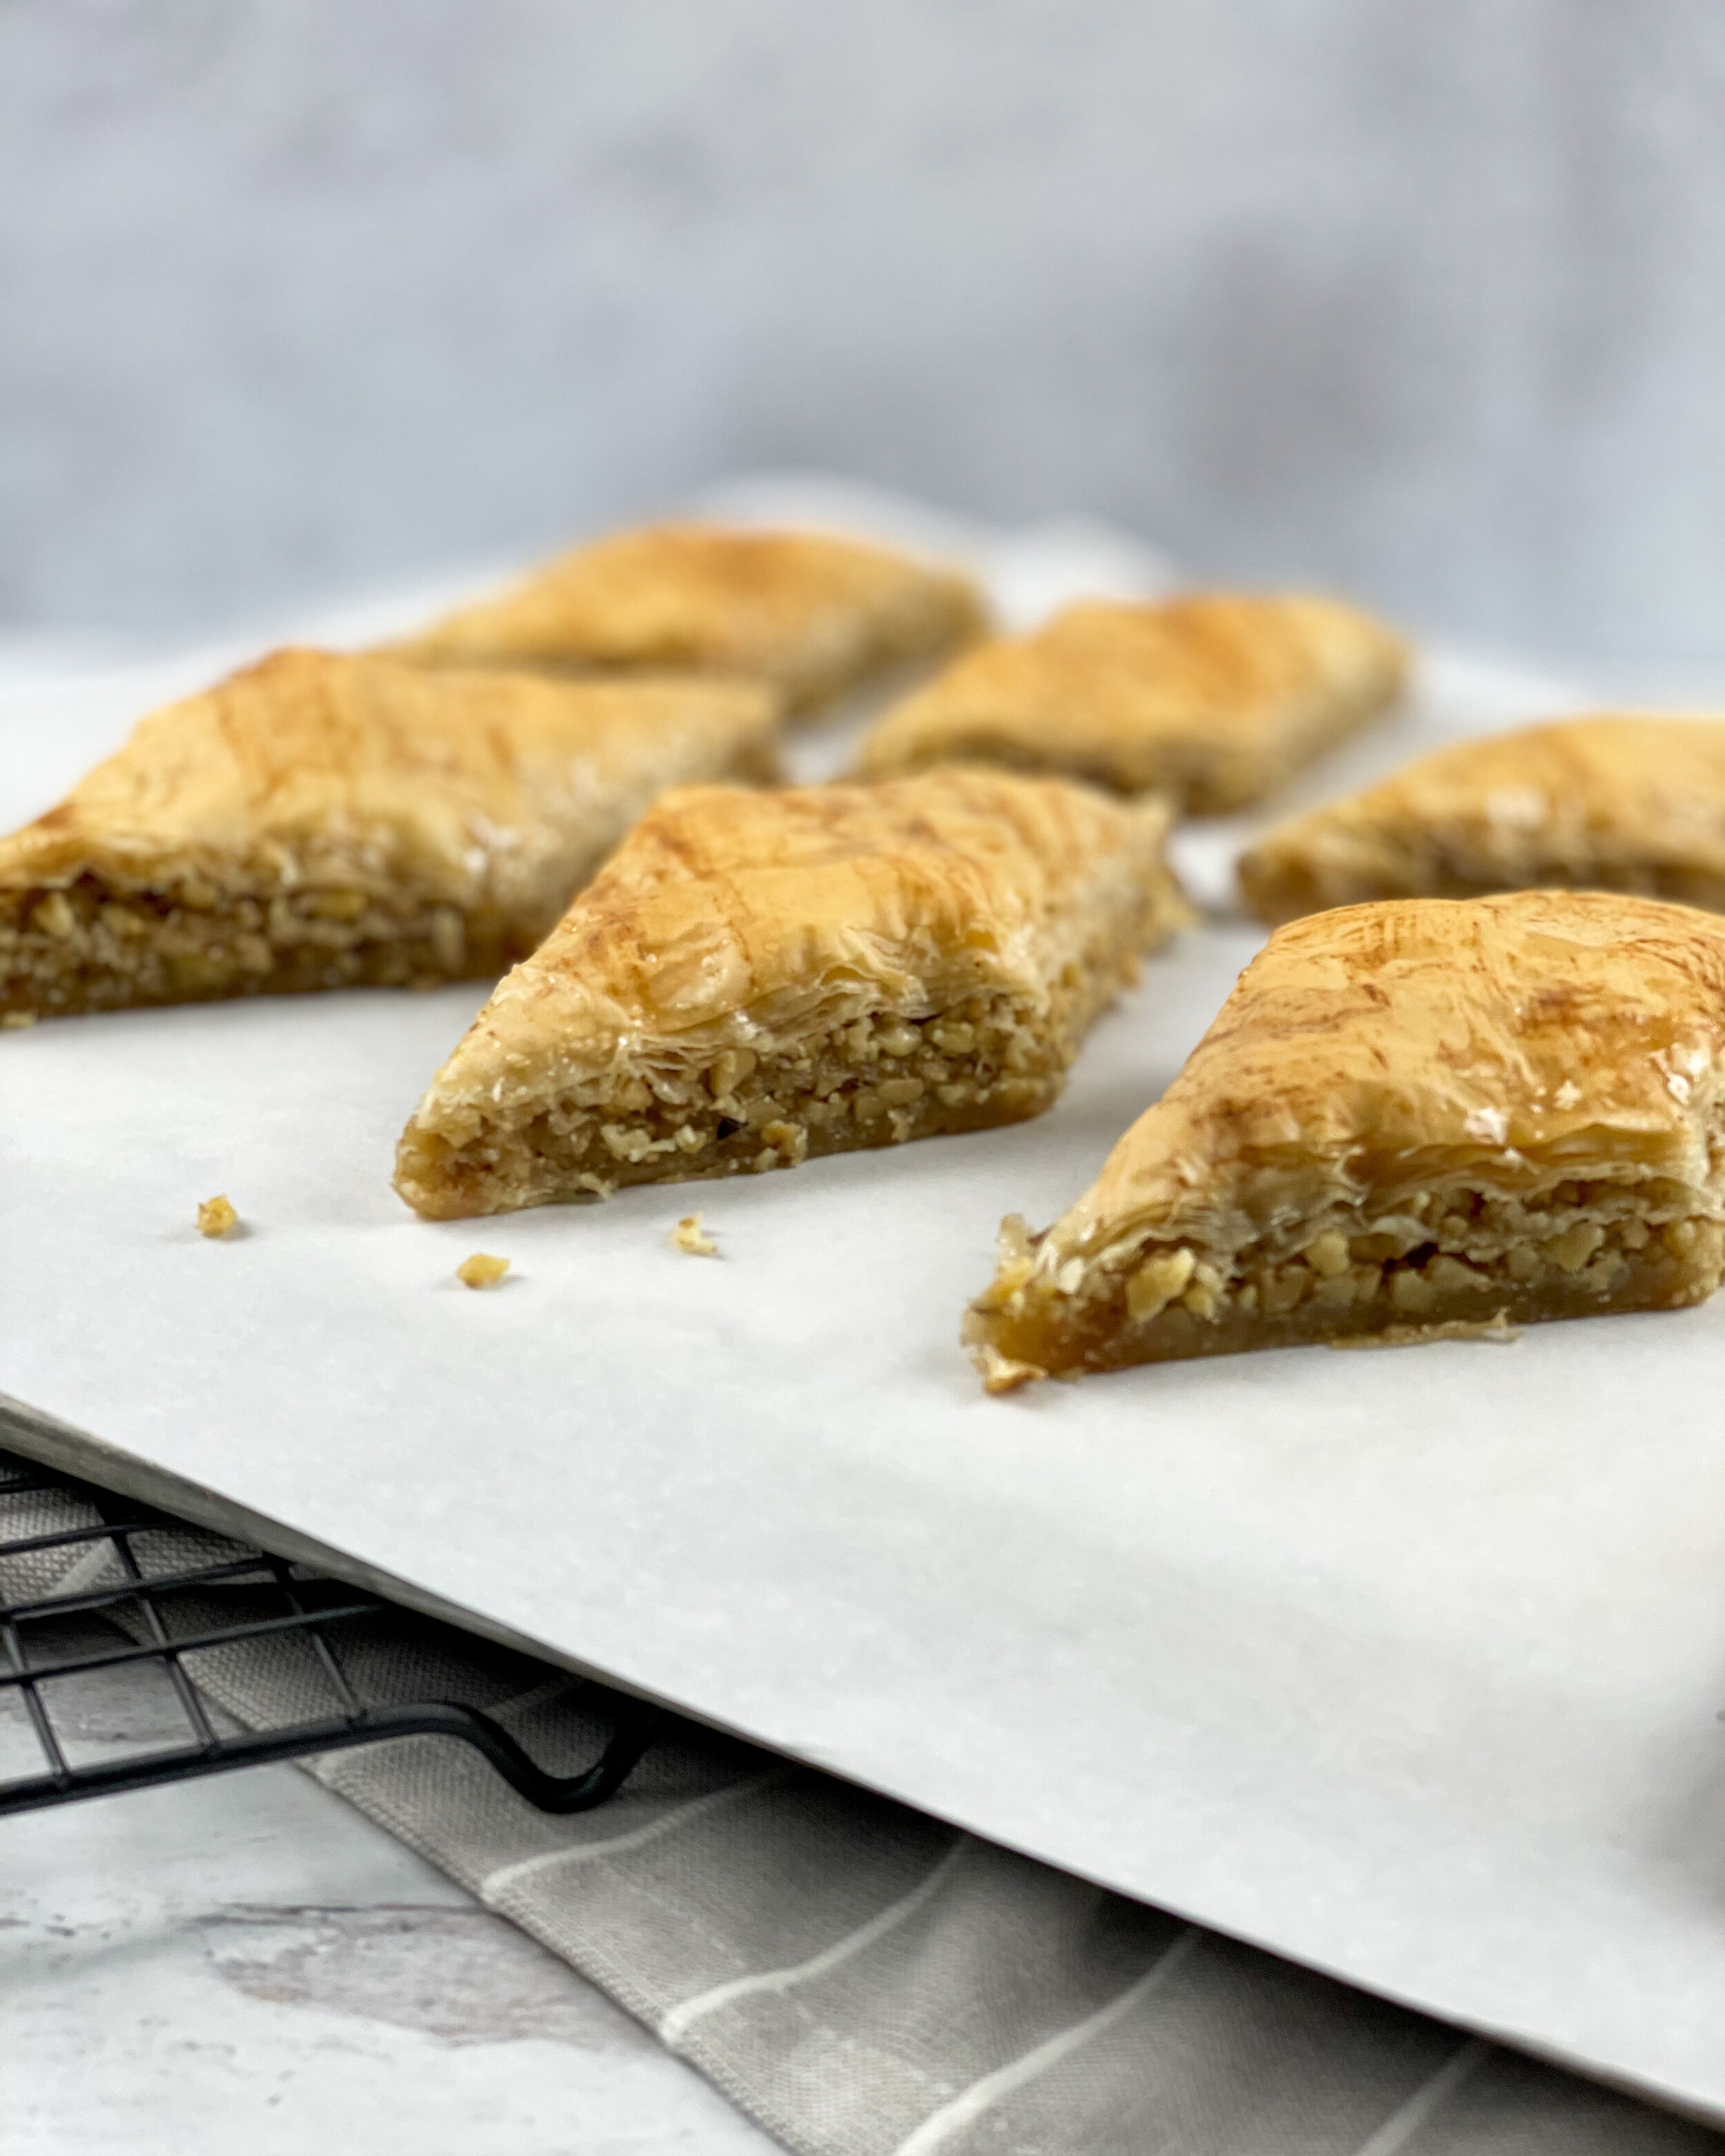
This holiday baklava recipe is more than just a dessert—it’s a memory. The smell of cardamom instantly transports me back to Grandma’s kitchen. Growing up, this baklava was an absolute holiday staple in our house. The flaky layers, the rich buttery flavor, the sweet sticky syrup, and of course, that warm cardamom spice—it was always a sign that something special was about to be served.
She might actually kill me if she knew I was sharing her secret recipe with the world… but here you go. 😉
✨ Why You’ll Love This Baklava
- Rich, buttery, and layered with crunchy walnuts
- Perfectly sweet with a honey syrup glaze
- Lightly spiced with cardamom for a unique twist
- A beautiful and impressive dessert for the holidays
- Freezes well and can be made ahead!
📝 Ingredients
For the Pastry:
- 1 lb walnuts
- 2/3 cup sugar
- 1 tsp ground cardamom (optional, but highly recommended)
- 1 lb sweet unsalted butter, melted ( you may not need all of this, so use one stick at a time)
- 1 lb fillo (phyllo) dough, thawed if frozen
For the Syrup:
- 1 cup sugar
- 1/2 cup water
- 1/2 cup honey
👩🍳 Instructions
1. Prep the Filling
Chop the walnuts in a food processor with a few quick pulses (you still want some texture). Mix with the sugar and ground cardamom in a bowl. Set aside.
2. Build the Layers
Preheat oven to 375°F. Brush the bottom of a standard sized rimmed sheet pan with melted butter.
Divide the phyllo dough into 3 equal sections. Keep unused dough covered with a slightly damp towel to prevent drying out.
First Layer:
Place the first portion of phyllo sheets onto your work surface. Working one sheet at a time, brush each with melted butter and stack them into the prepared pan.
Sprinkle half of the walnut mixture evenly across this bottom layer.
Second Layer:
Repeat the same layering process with the second third of the dough. Again, brush each sheet generously with butter. Add the remaining walnut mixture on top.
Third Layer:
Finish with the last section of phyllo, again brushing each layer with melted butter.
3. Cut the Baklava
Using a sharp knife (or pizza cutter), cut the baklava vertically into rows, then cut diagonally across those rows to create classic diamond shapes.
4. Bake
Bake at 375°F for 10 minutes, then lower the oven temperature to 350°F and continue baking for 20 more minutes, or until golden and crisp.
5. Make the Syrup
While the baklava bakes, combine sugar and water in a saucepan. Simmer for 10 minutes, then stir in the honey. Keep warm.
6. Finish the Baklava
Once the baklava is done baking, pour the warm syrup evenly over the hot pastry. Then, return the pan to the oven for another 5 minutes.
Let the baklava cool completely before removing from the pan. Re-cut the diamond pieces before serving.
A Note on Phyllo Dough:
You can find Phyllo dough (or filo dough) at most traditional grocery stores in the frozen section. I know I have purchased it at Whole Foods before. I prefer to buy at Mediterranean or International markets if you have one near you. I think the quality is a little better there. It is important to note that this IS NOT puff pastry. Also- since phyllo is usually purchased frozen, it is important to thaw it correctly because any condensation will cause it to stick together which is extremely frustrating to work with. Here are some notes on proper thawing and handling to set yourself up for success.
- Thaw correctly: Thaw the phyllo dough in the refrigerator overnight, still in its original packaging, to prevent condensation from making the sheets gummy.
- Don’t rush: Allow the dough to come to room temperature for a couple of hours after refrigerating for the best results, but use it soon after.
- Cover immediately: As soon as you unroll the sheets, cover the stack with plastic wrap, and then place a damp (not wet) kitchen towel over the plastic wrap to keep the dough hydrated but prevent it from becoming sticky.
- Work in a covered environment: Keep the remaining dough covered while you work
Storage Tips
Store prepared Baklava in an airtight container in a cool place or the refrigerator. It holds up beautifully and can even be frozen for future treats!
Perfect For:
- Holiday gatherings
- Potlucks or parties
- Dessert trays or cookie exchanges
- A homemade gift for friends and family
📸 Show Me Your Baklava!
If you make this recipe, I’d LOVE to see it! Tag me on Instagram @RachelMasterKitchen and use the hashtag #RachelMasterKitchen so I can see your sweet creations.

Grandma Era’s Famous Baklava
Equipment
- 1 Standard sized rimmed sheet pan
- 1 Small saucepan for melting butter
- 1 Basting brush for butter
- 1 Pizza Cutter or sharp knife
- 1 Food Processor
Ingredients
- 1 lb. walnuts
- 1 2/3 cup sugar Divided (2/3 for walnut mixture, 1 cup for syrup)
- 1 tsp ground cardamom
- 1 lb butter unsalted, melted (you may not use all of this, so use one stick at a time)
- 1 lb phyllo dough sheets
- 1/2 cup honey
- 1/2 cup water
Instructions
- Preheat oven to 375 degrees F.
- Chop walnuts in a food processor for a couple pulses. Add 2/3 cup sugar and cardamom to the walnuts.
- Brush bottom of large sheet pan with a little butter.
- Divide dough in 3 parts.
- Lay one section of dough on work station and generously brush all the layers one at a time with melted butter and layer on sheet pan. Keep a damp towel over the dough you are not using so it does not dry out.
- Sprinkle 1/2 of walnut mixture over the dough. Spread out evenly.
- Top second portion of dough in the same manner, brushing each layer with melted butter.
- Add the rest of the walnut mixture.
- Top with third layer of dough in the same manner as before.
- Cut in diamond shapes by cutting across the pan from top to bottom, then cutting diagonally all the way across the pan.
- Bake at 375 degrees for 10 mins then lower heat to 350 degrees for another 20 minutes.
- Meanwhile cook together the 1 cup sugar and 1/2 cup water for 10 mins.
- Stir in honey. Keep hot.
- When you remove pastry from oven, put syrup over the pastry.
- Put back in the oven for 5 mins.
- Cool completely.
- Recut before removing from pan.
- Keep in an airtight container in a cool place or the refrigerator.
Leave a Reply